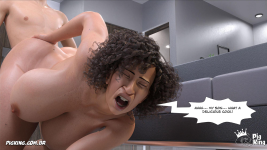
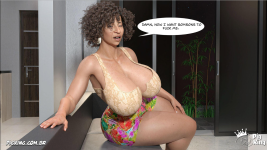
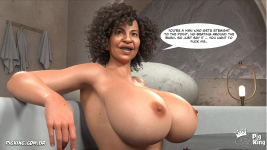
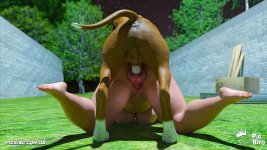
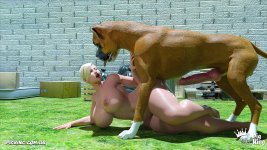
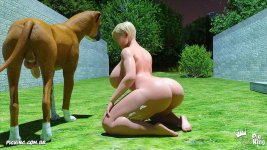
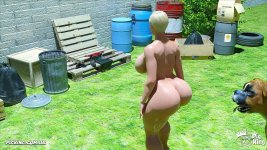
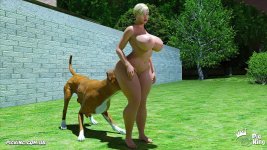
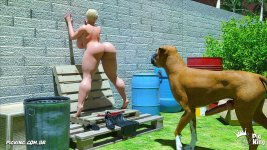
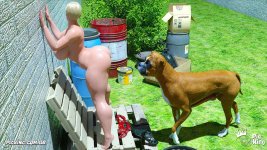
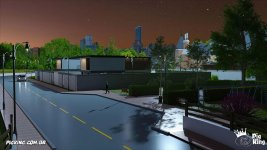
I didn't like the lighting, so I talked to Teddy, and we're going to change it in the next episode.
Try This:
To achieve night lighting in Daz Studio (using the Iray engine) that keeps characters clear, sharp, and well-visible while still unmistakably conveying a nighttime atmosphere, the secret lies in using Cinematic Color and Directional Contrast.
If you only use a dim blue light, the scene ends up dark and blurry. If you use a strong white light, it looks like broad daylight. The solution is balancing a cool fill light (night) with a warm or neutral key light for highlight.
Step-by-Step Configuration in Daz Studio (Iray)
- Ambient Light / Night Sky (Fill Light)
Tool: Use a Night HDRI in the Environment Map or a Sun-Sky set to nighttime.
Configuration: Set the dominant color of this environment to a Cool Blue / Cyan (Color temperature around 7000K to 9000K or pick a bluish hue from the color palette).
Intensity: Low to medium. Its sole purpose is keeping shadows from turning pitch black while giving the background a subtle moonlight tone.
- Main Character Light (Key Light)
Tool: Add a Spotlight or Distant Light pointed directly at the characters' faces/bodies.
Color Configuration: Use Pure White or a very soft Yellow/Orange (Temperature around 4500K to 5500K).
The Trick: The human mind reads the scene as "night" due to the bluish background and cool shadows. A white or warm key light hitting the skin keeps characters fully sharp and prominent without making it look like sunlight.
- Night Rim Light / Kicker — The Secret to Sharpness
Tool: Position a powerful Spotlight behind or to the side of the characters, aimed at their back/hair.
Color Configuration: Vivid Blue / Deep Cobalt Blue.
Effect: Creates a blue edge highlight along shoulders, hair, and silhouettes. This rim light outlines character bodies against the dark background, ensuring perfect readability even in a nighttime setting.
- Practical Scene Lights (Warm Focal Points)
If the scene takes place in a bedroom or on a street, add visible light sources in the scene (a nightstand lamp, a smartphone screen, a streetlight).
Set these lights to warm Orange or Yellow tones. The contrast between the cool night background and the warm lamp light immediately signals an indoor/nighttime environment to the reader.
Camera and Tone Mapping Settings (Iray)
To prevent the image from becoming too dark or overexposed in Daz Studio, adjust the Render Settings -> Tone Mapping tab:
Film Speed (ISO): Keep it between 100 and 200 to avoid noise (excessive denoising).
Shutter Speed: Adjust this to control overall scene brightness without tweaking individual light intensities.
White Balance: If the scene appears overly blue, adjust the White Balance closer to 6500K to balance skin tones.
Lighting Setup Summary
| Light | Type / Position | Color | Function |
| Ambient | HDRI / Sun-Sky (Background) | Cool Blue / Cyan | Establishes the night mood and brightens shadows. |
| Key | Spotlight (Front/45°) | Neutral or Soft Warm White | Keeps skin bright, visible, and sharp. |
| Rim | Spotlight (Behind) | Intense Deep Blue | Separates the character from the dark background. |
| Practical (Optional) | Lamps / Screens in scene | Warm Orange / Yellow | Creates optimal color contrast (Orange & Teal). |